Syncthing Cloud - Setup Guide
Follow these steps to connect your local device to Syncthing Cloud securely.
Having trouble? Contact our support team for help.
Step 1: Signup/Login Syncthing Cloud

Step 2: Add Billing Info Syncthing Cloud
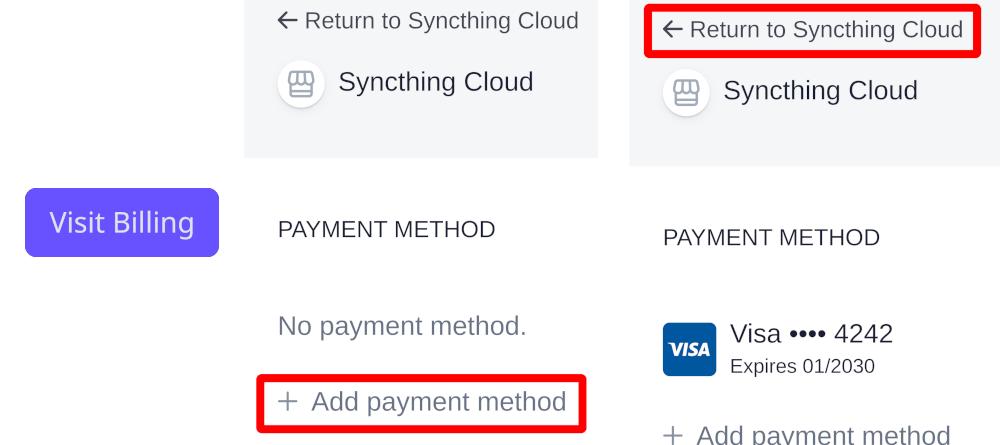
If you haven't done so already, you'll need to add your billing information before you're able to add a subscription.
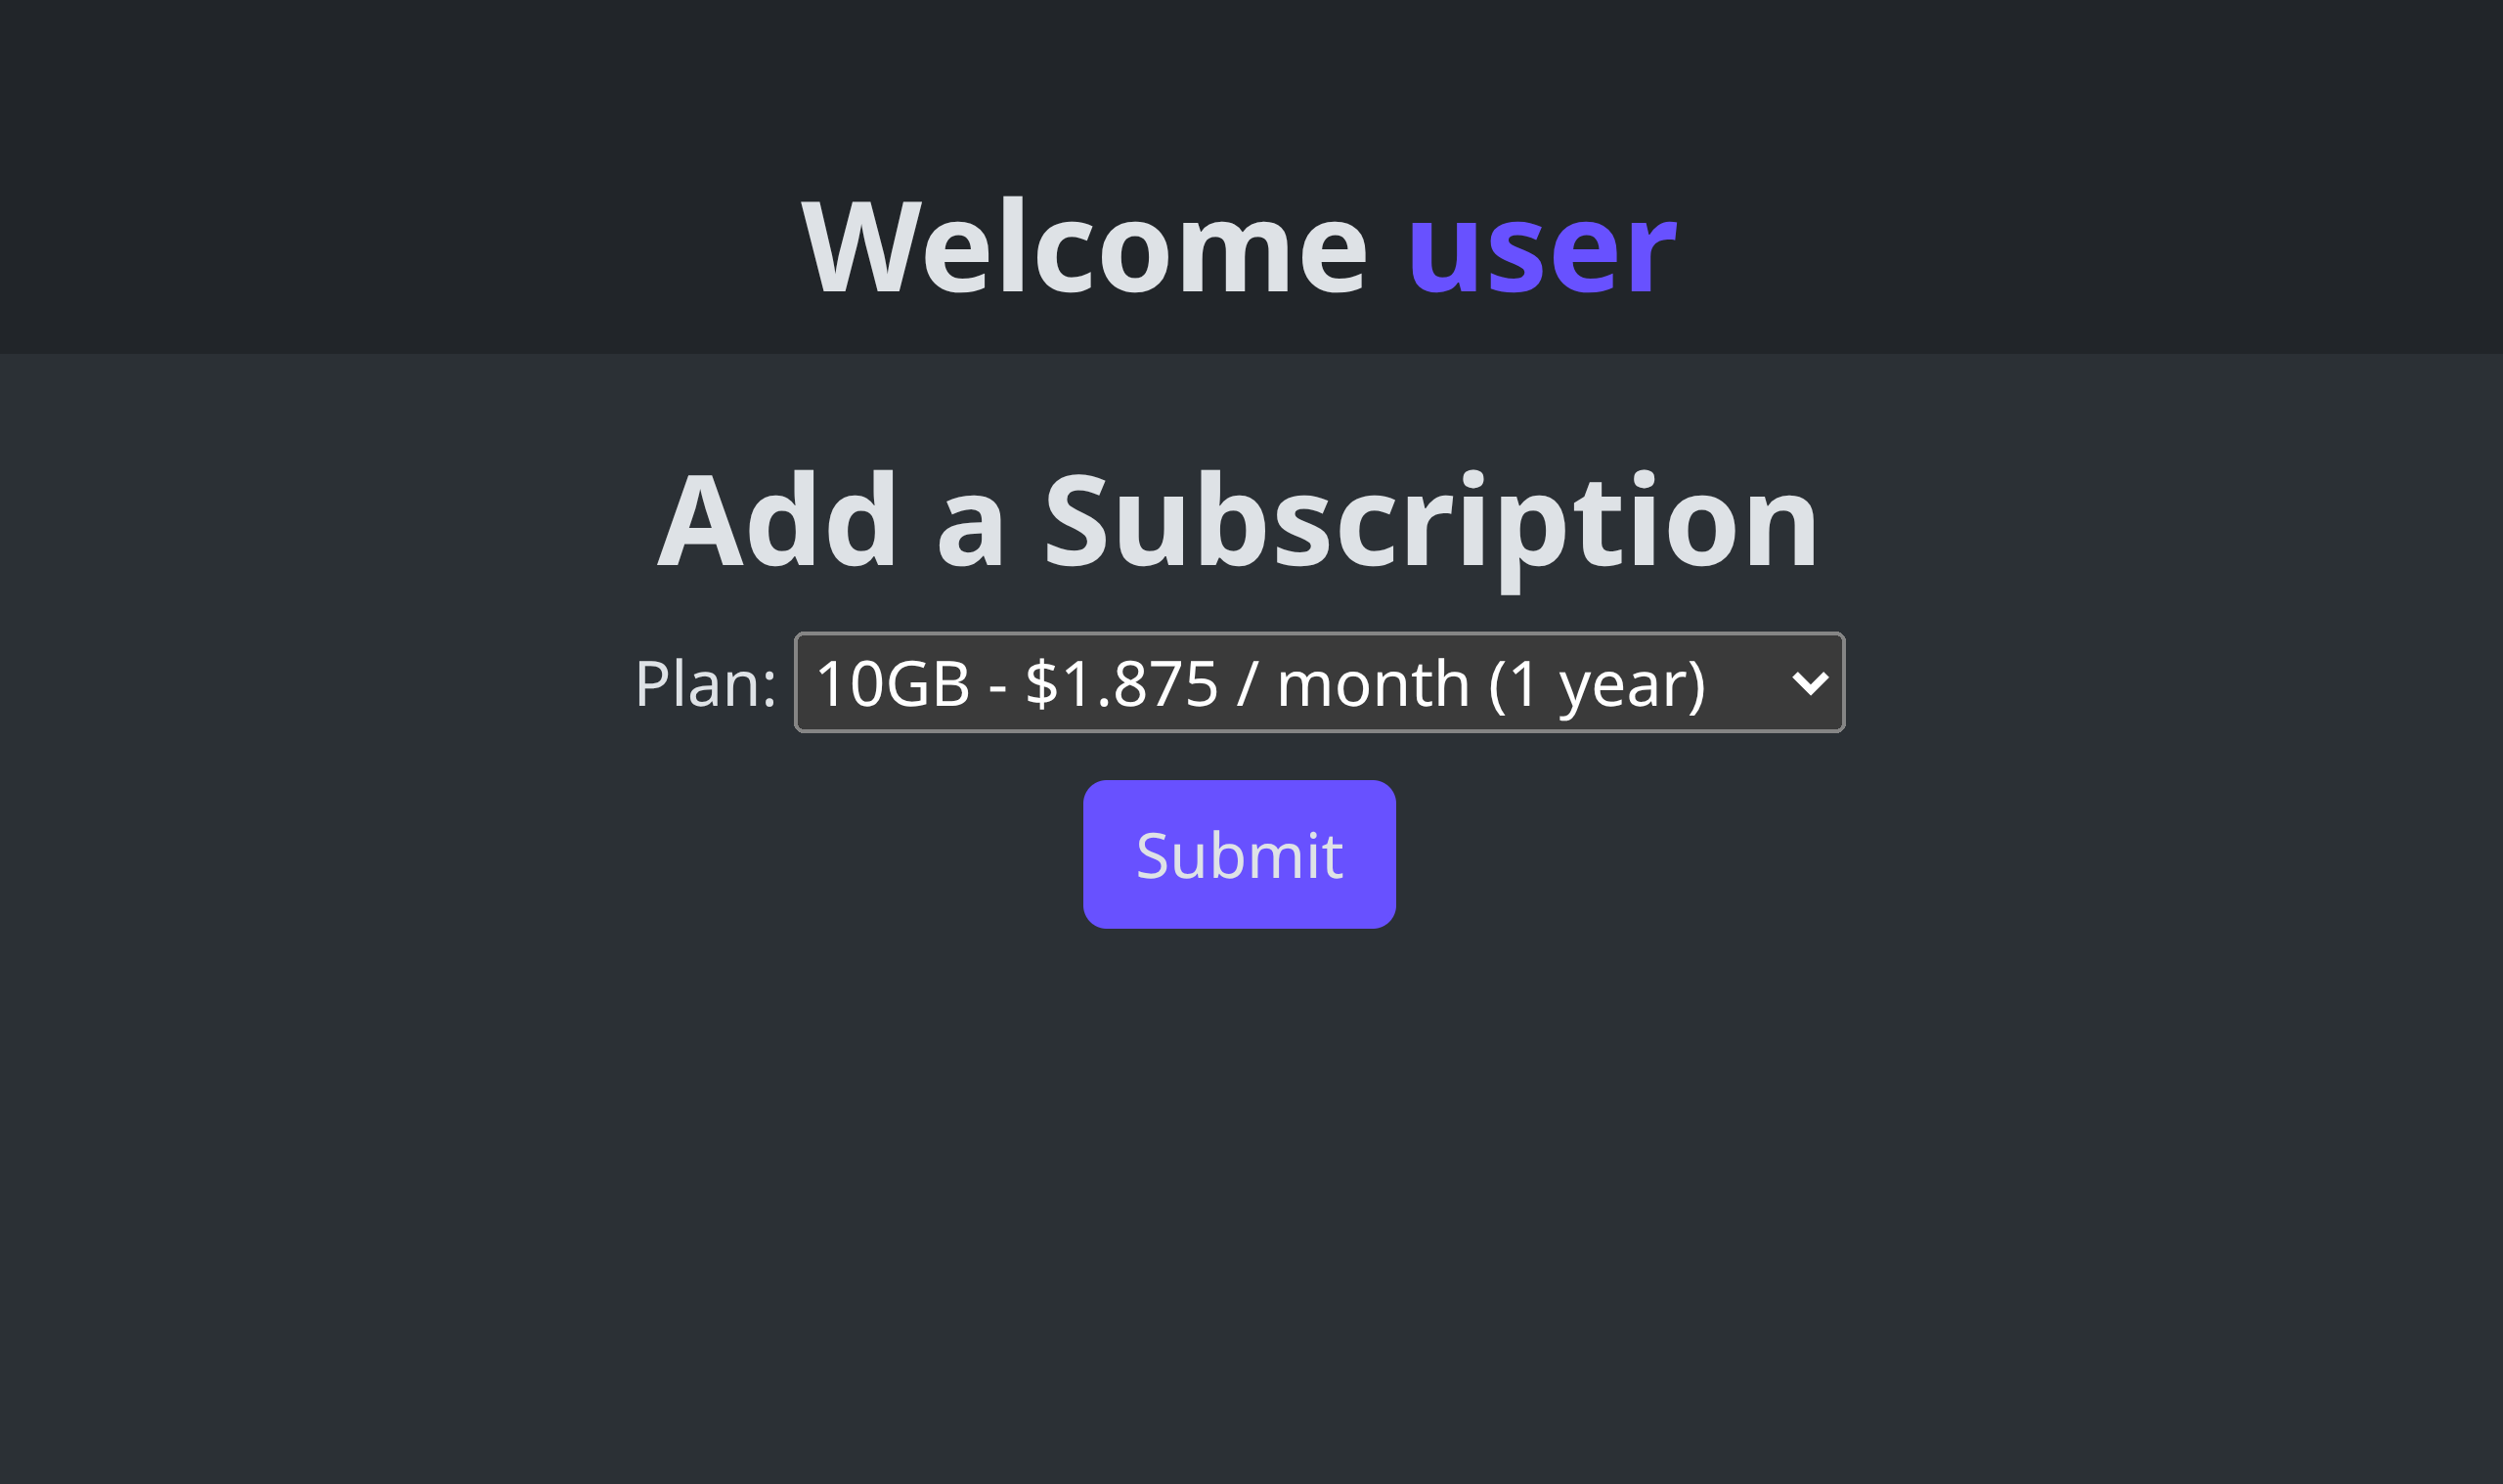
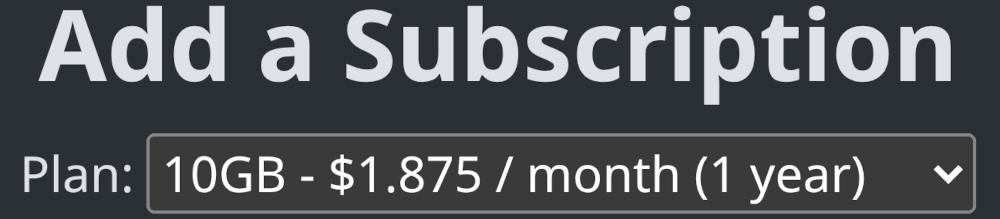
Step 3: Pick a Plan Syncthing Cloud
After your billing information has been setup, you'll need to pick a plan to subscribe to. This will provision your dedicated Syncthing Cloud instance.
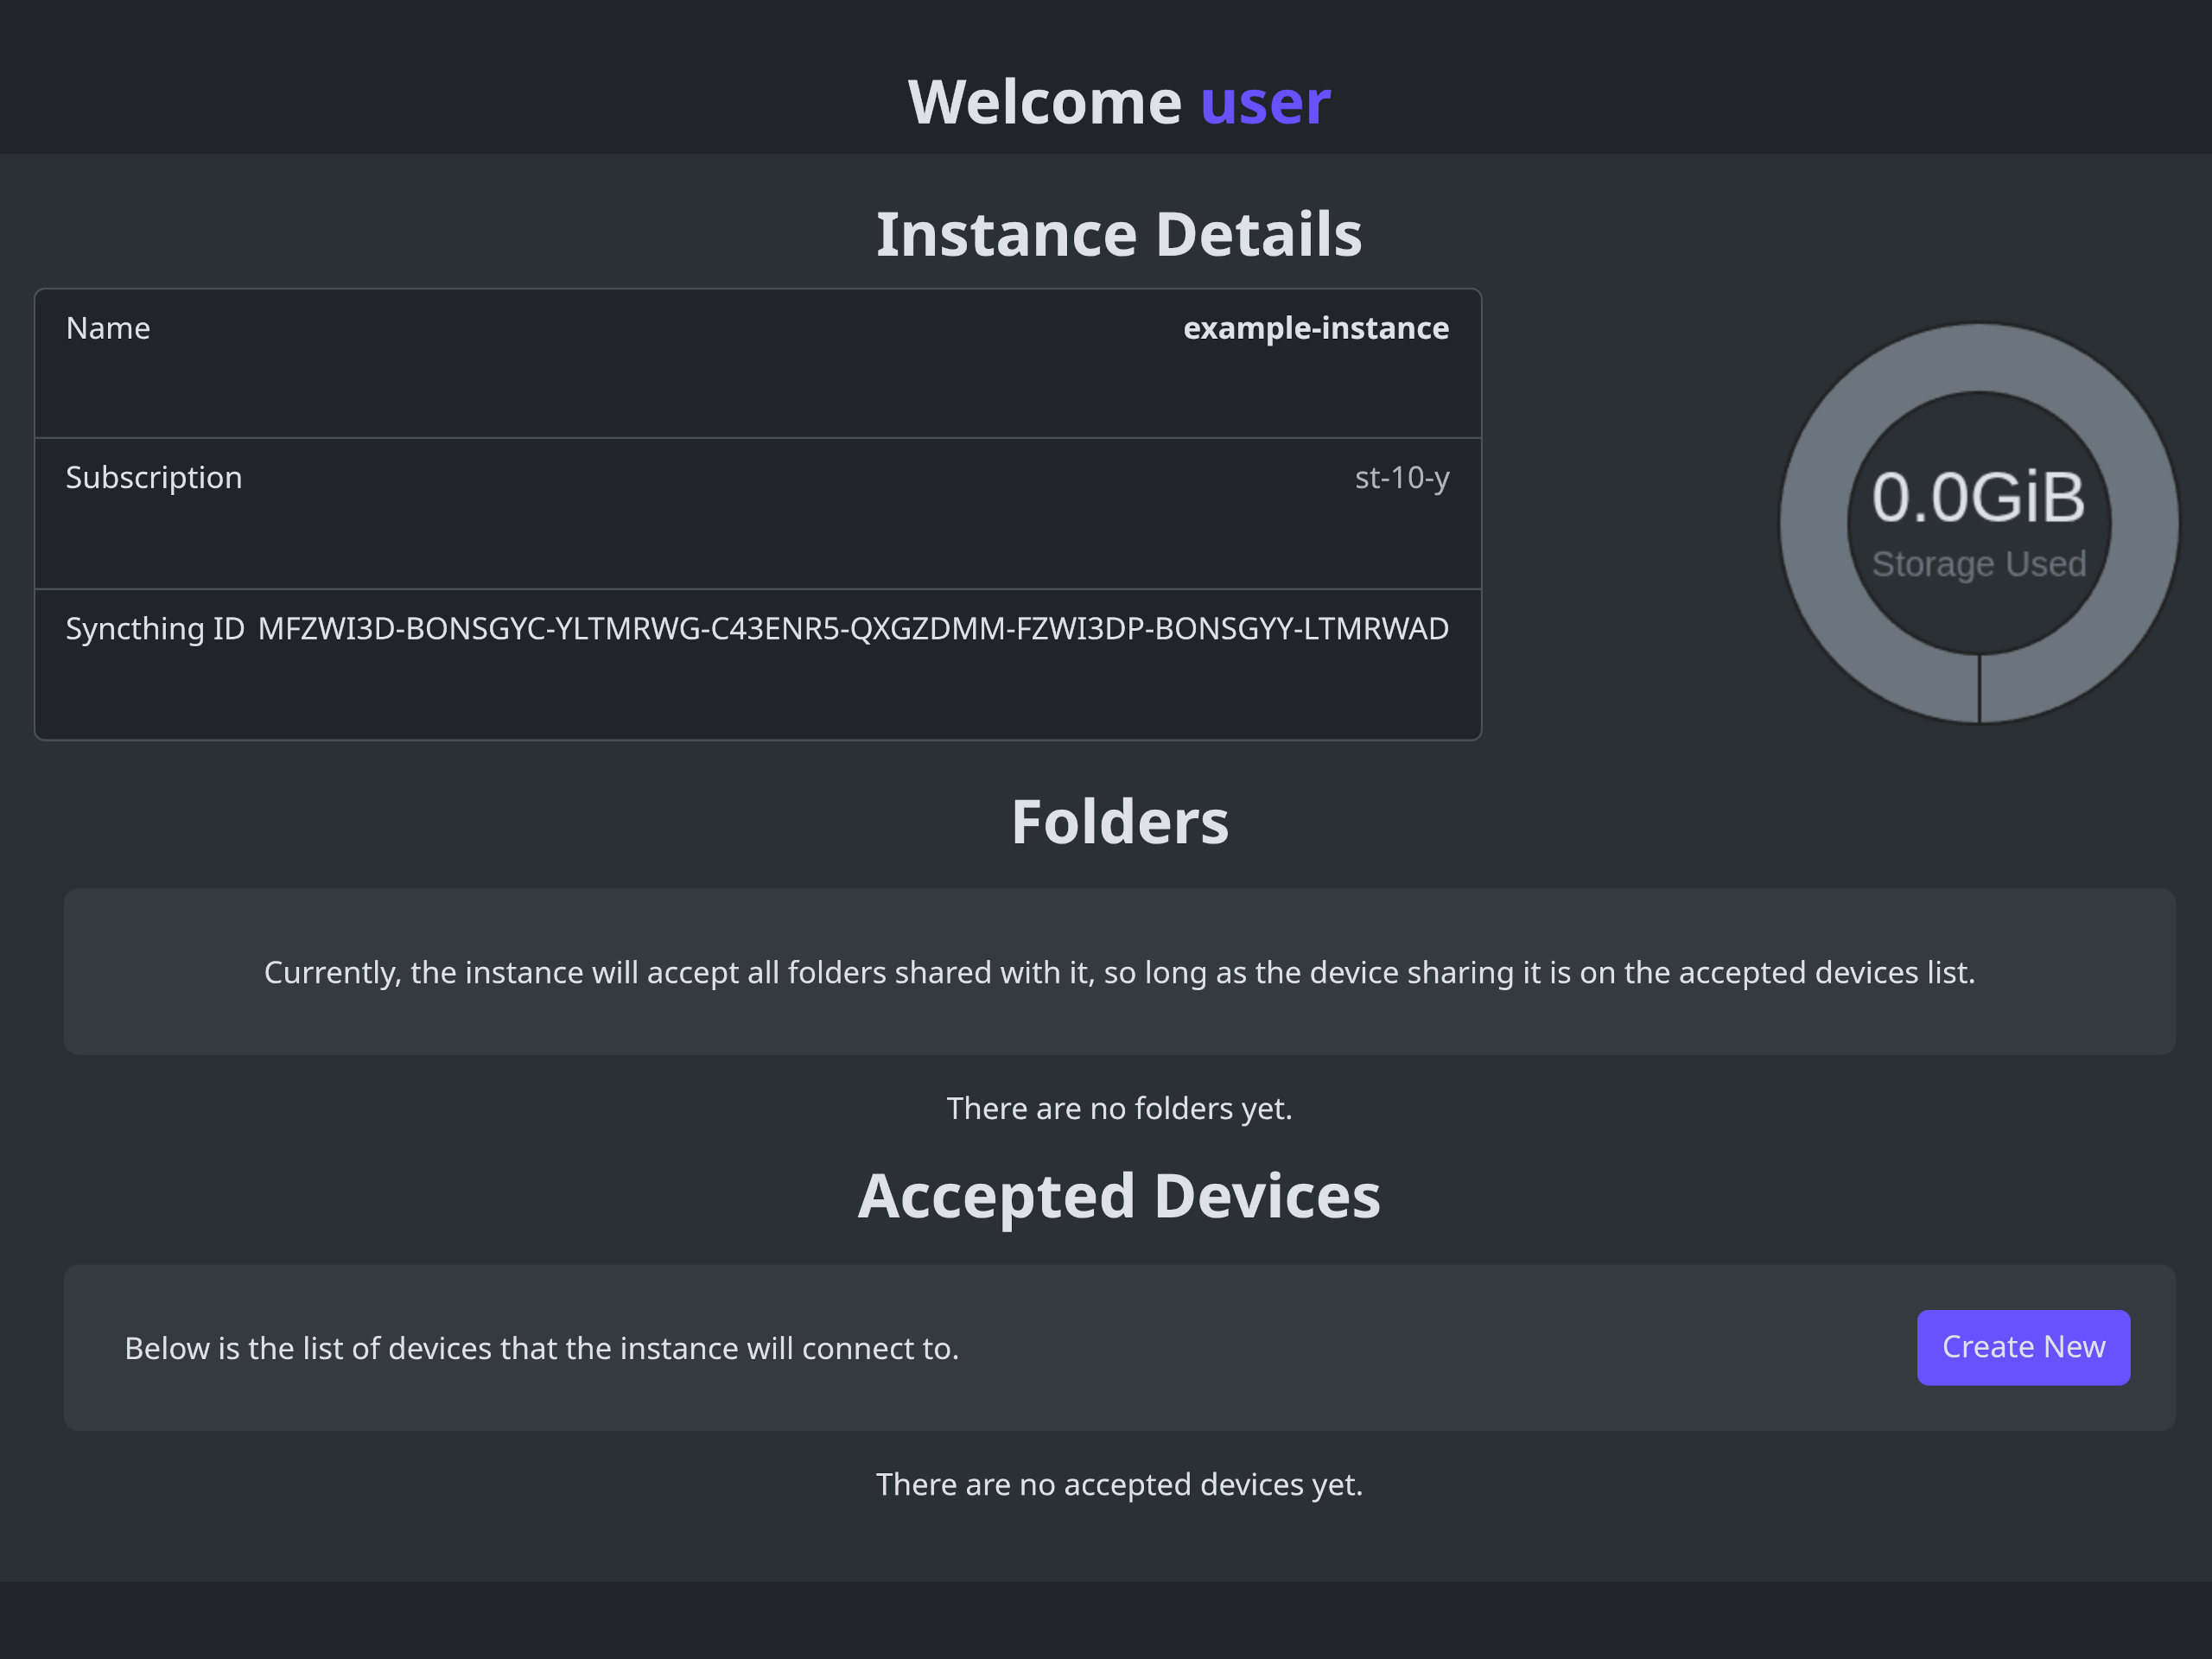
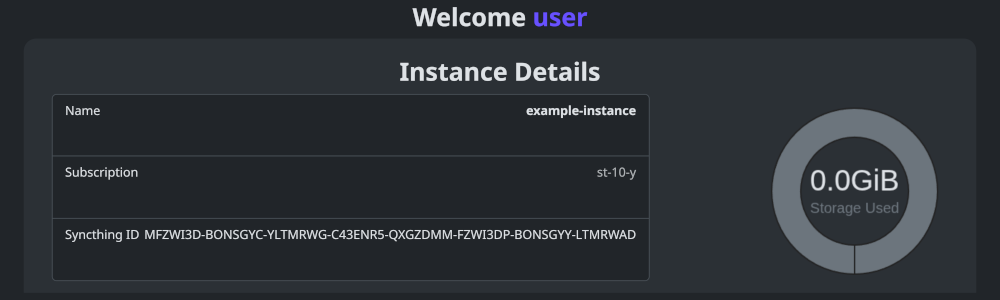
Step 4: Go to Instance Details Syncthing Cloud
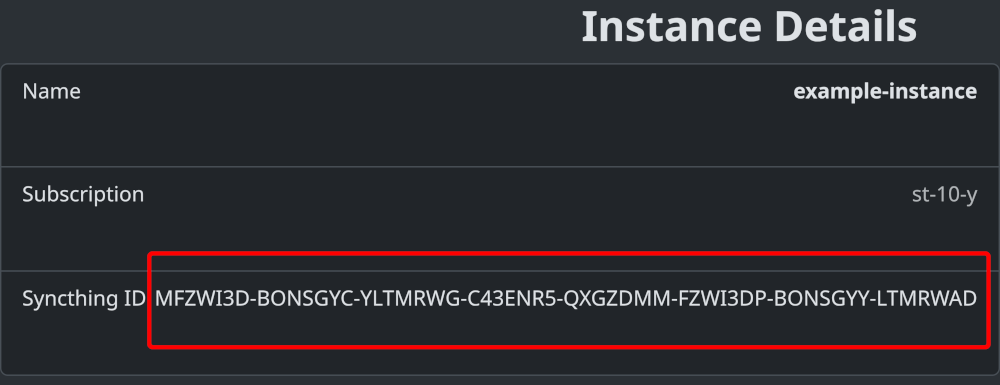
After subscribing, your new Syncthing Cloud instance will be assigned a randomly generated name and added to the Instances page. Click the name to pull up the instance detail page. This is where you'll find its device ID and manage its settings.
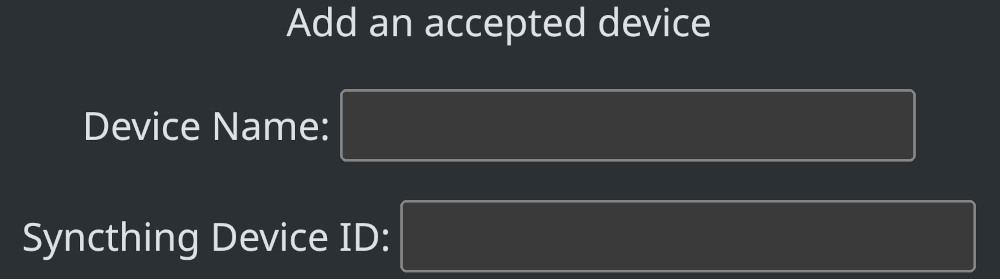
Step 5: Add New Accepted Device Syncthing Cloud
On your instance detail page, find the section for managing devices and go to add a new "Accepted Device". This will inform your to accept a connection from your local device.
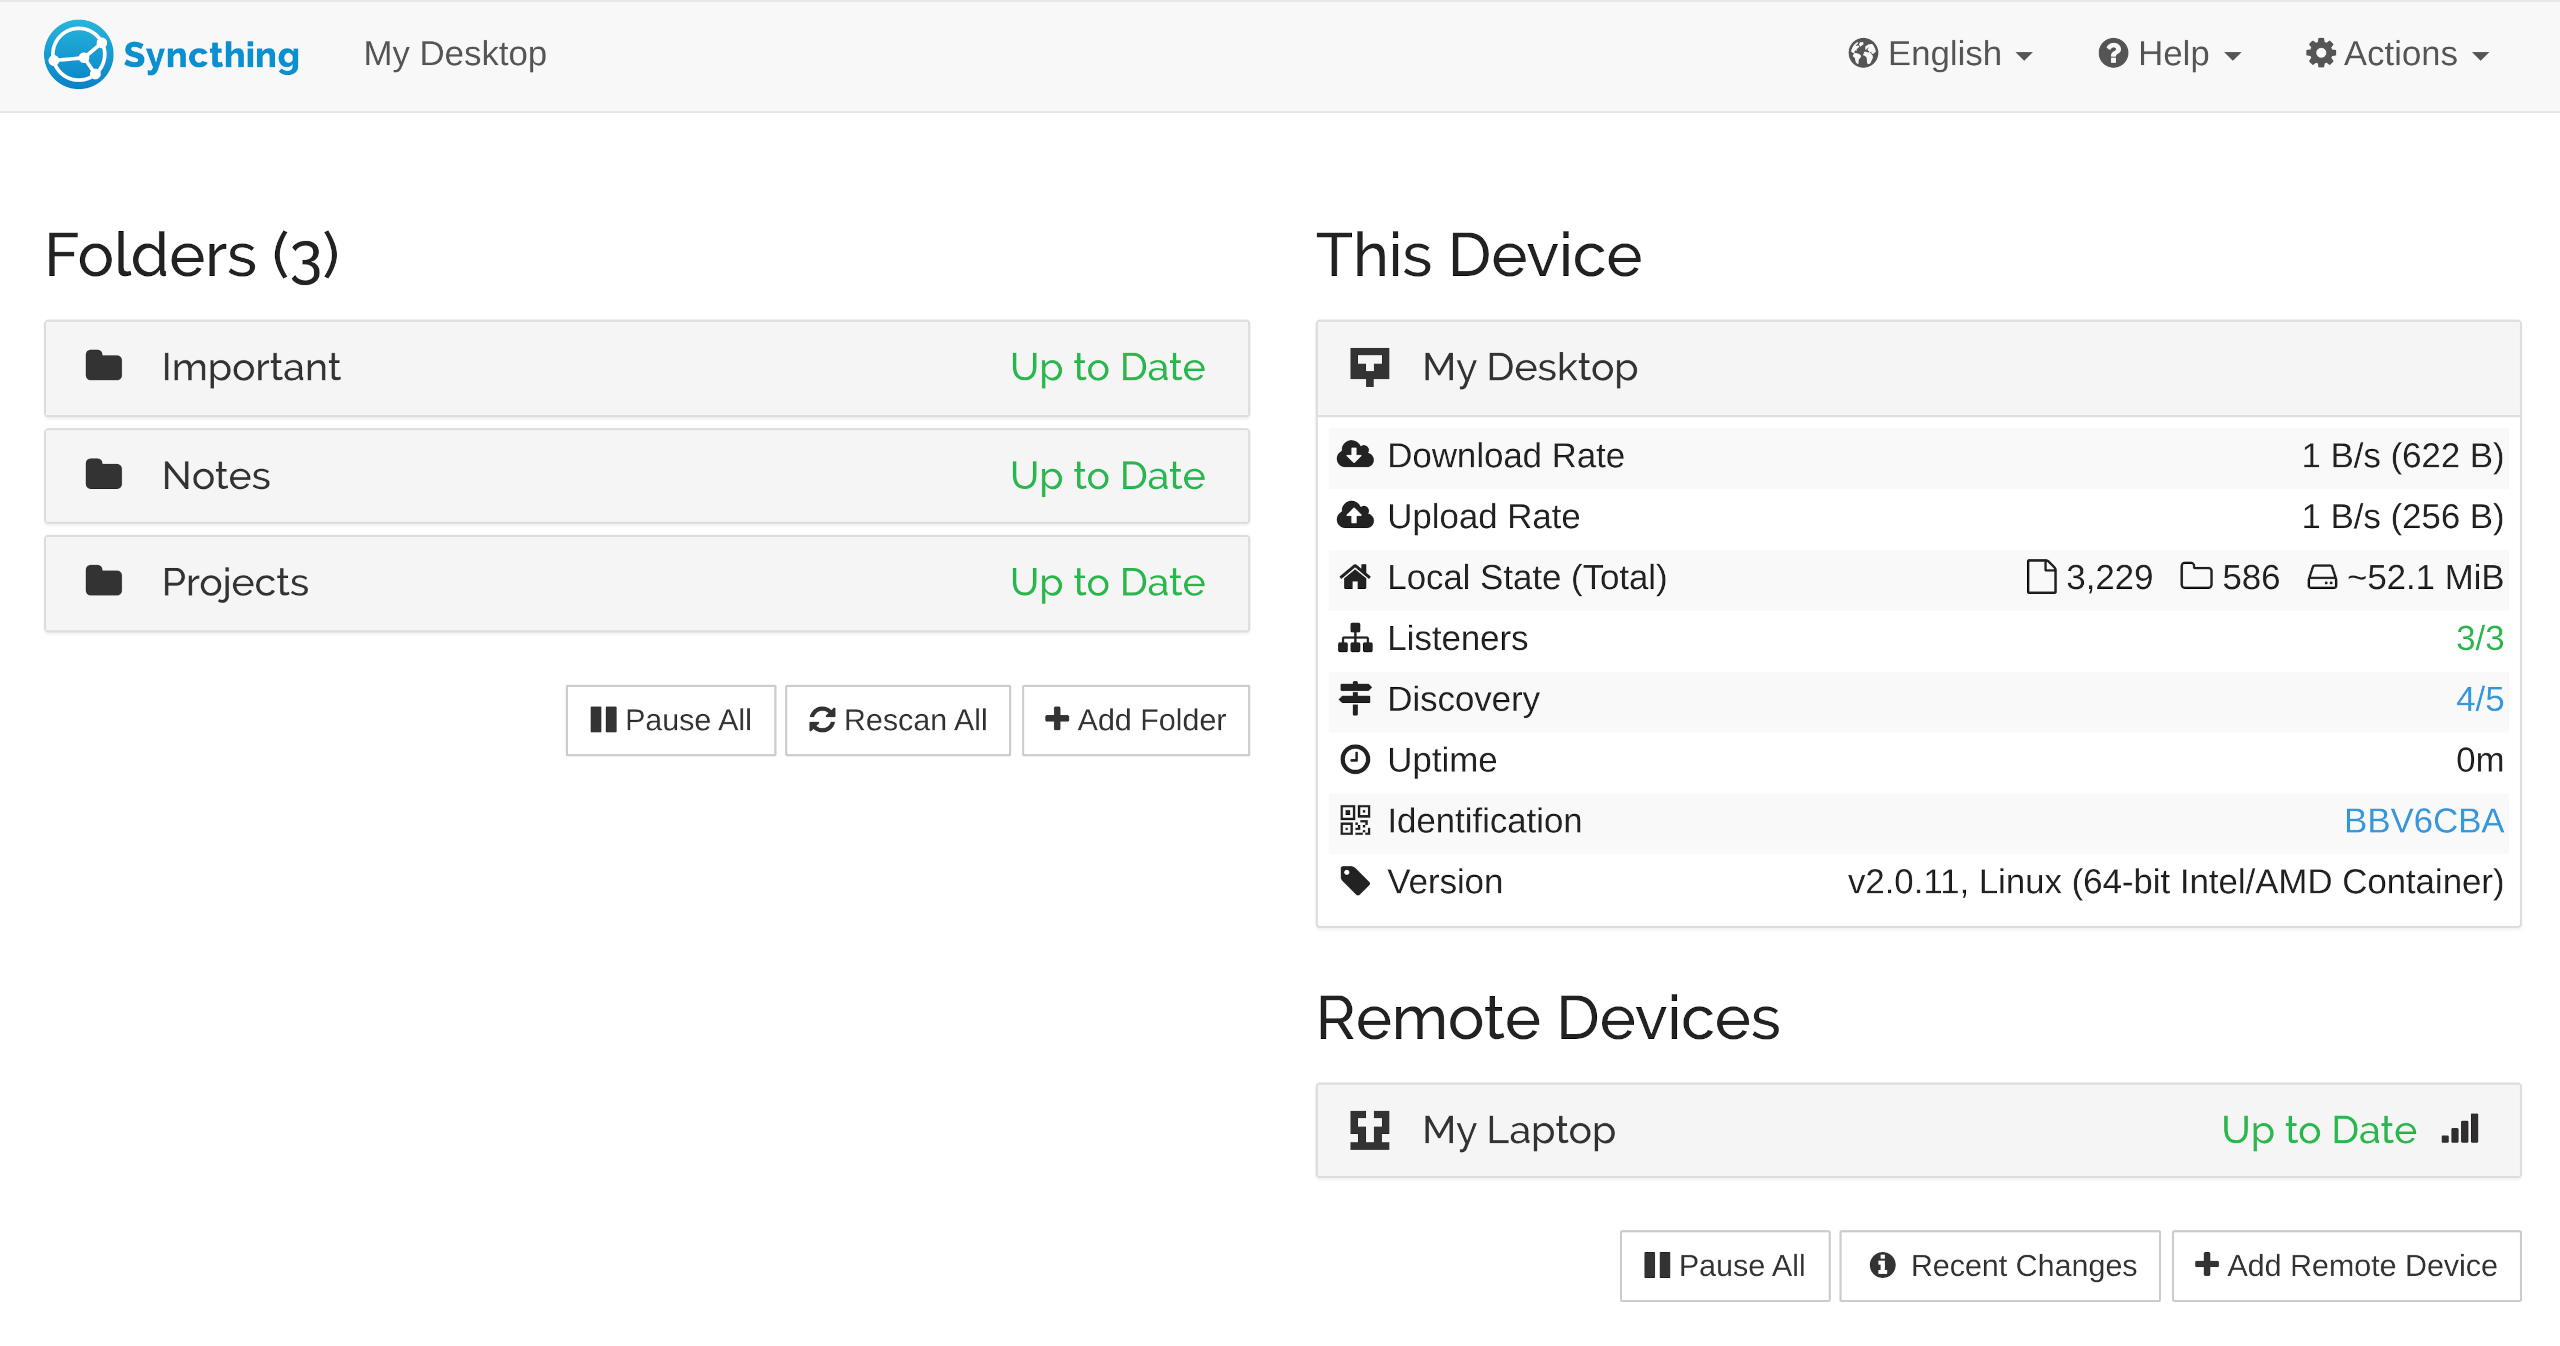
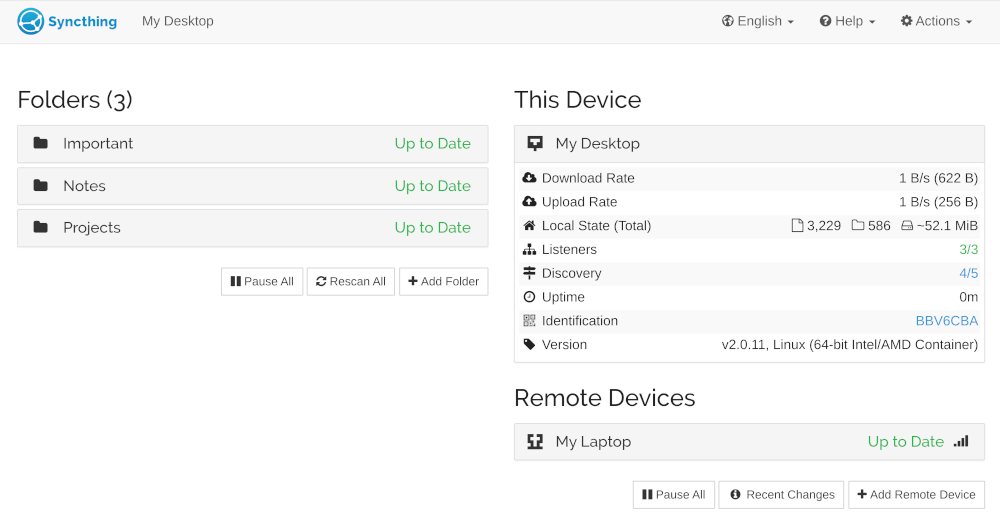
Step 6: Access Local Syncthing Local Device
Now, open the web interface for your local Syncthing running on your device.
The default address is typically http://127.0.0.1:8384/
Step 7: Paste Local ID into Syncthing Cloud Syncthing Cloud
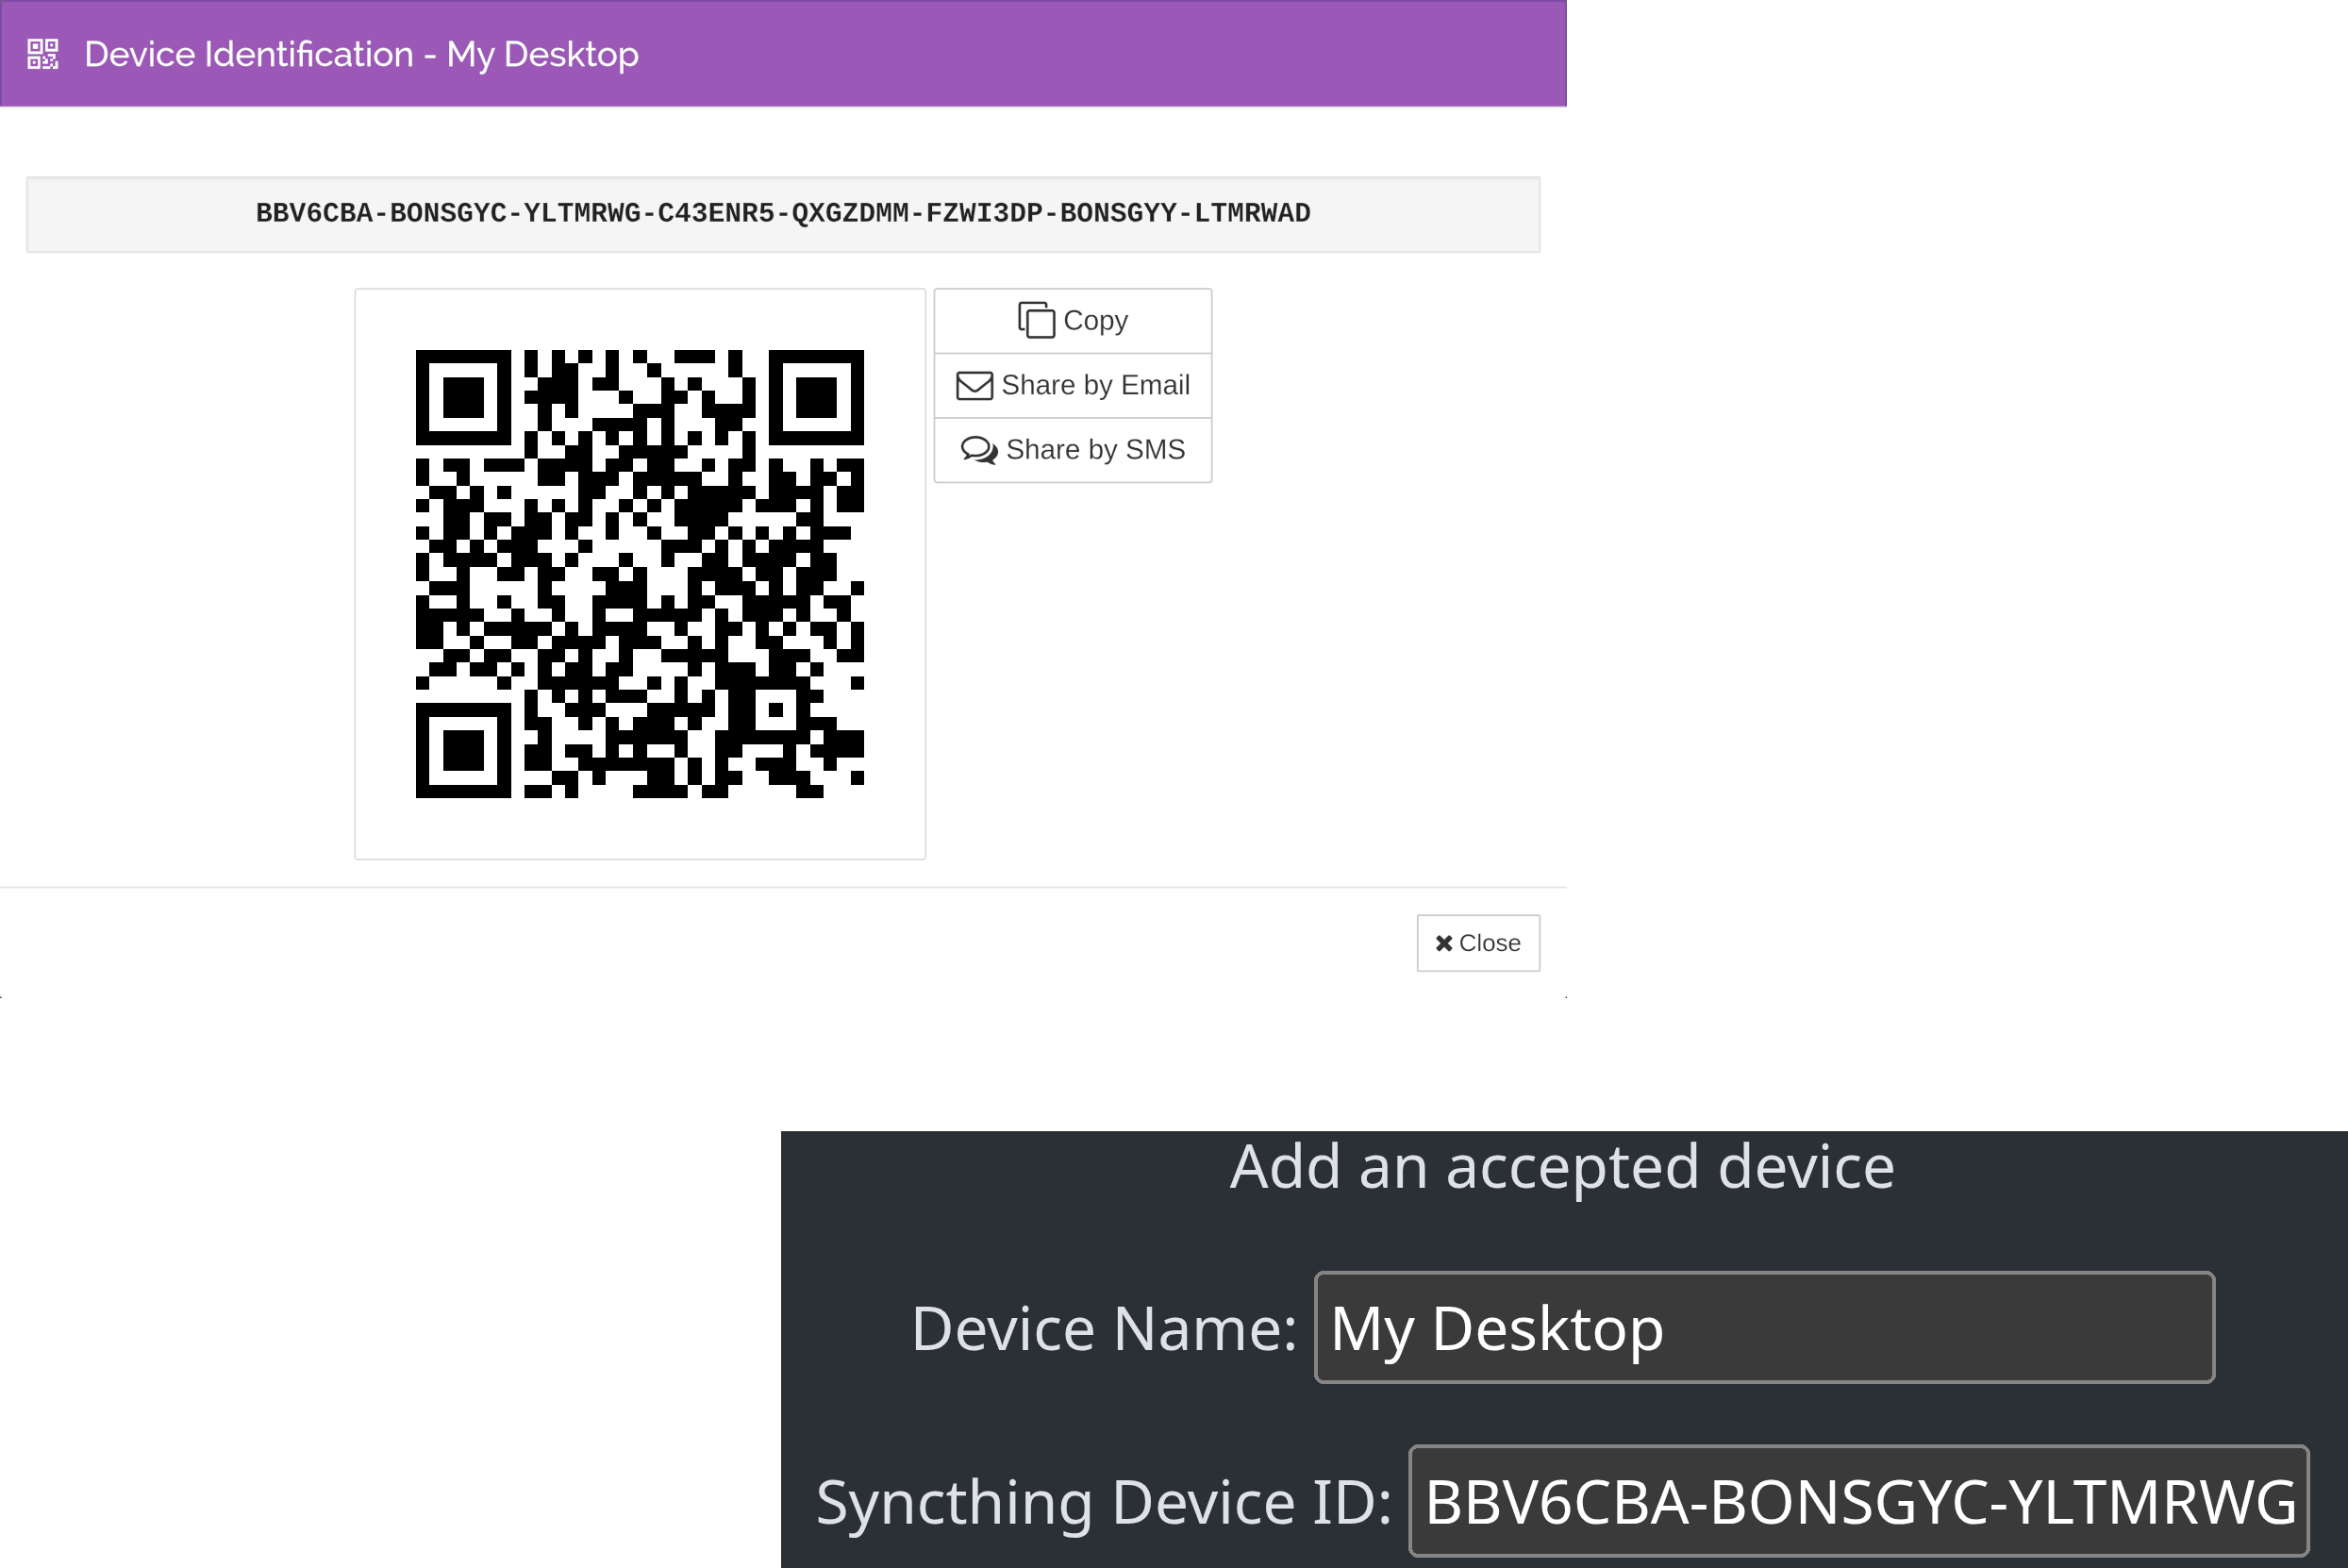
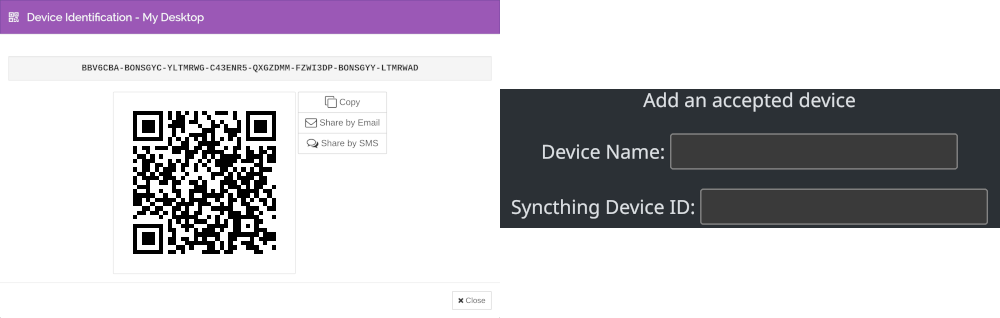
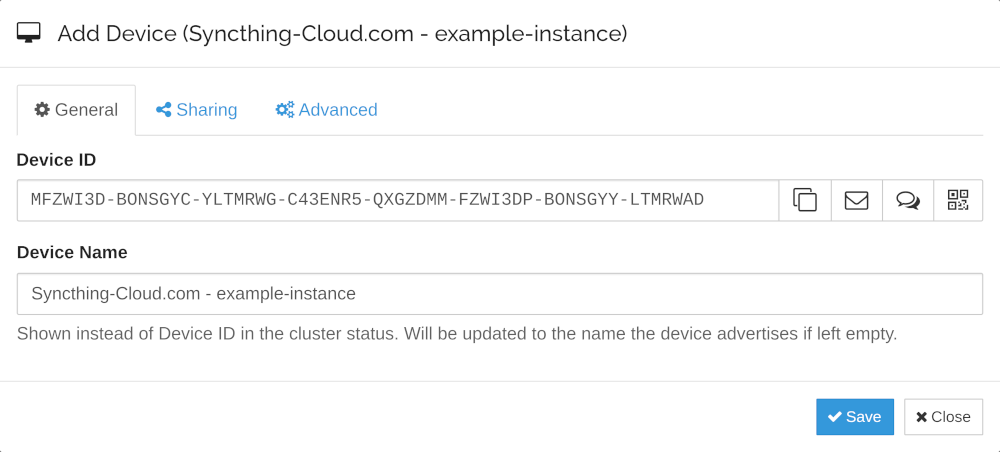
In your local Syncthing UI, copy your device's ID (from "Actions" > "Show ID"). Then, switch back to the Syncthing Cloud browser tab and paste this ID into the "Device ID" field for the new "Accepted Device" you started in Step 4.
Step 8: Save the New Device Syncthing Cloud
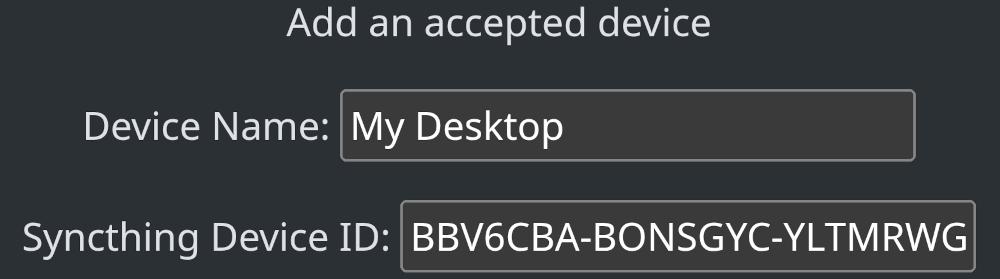
On the Syncthing Cloud page, after pasting the ID, give your local device a recognizable name (e.g., "My Desktop") and add the device.
Step 9: Copy Instance ID Syncthing Cloud
Now, you need the ID of your cloud instance. Back on the Syncthing Cloud detail page for your instance, find and copy the Syncthing ID for the cloud instance itself.
Step 10: Add Remote Instance to Local Syncthing Local Device
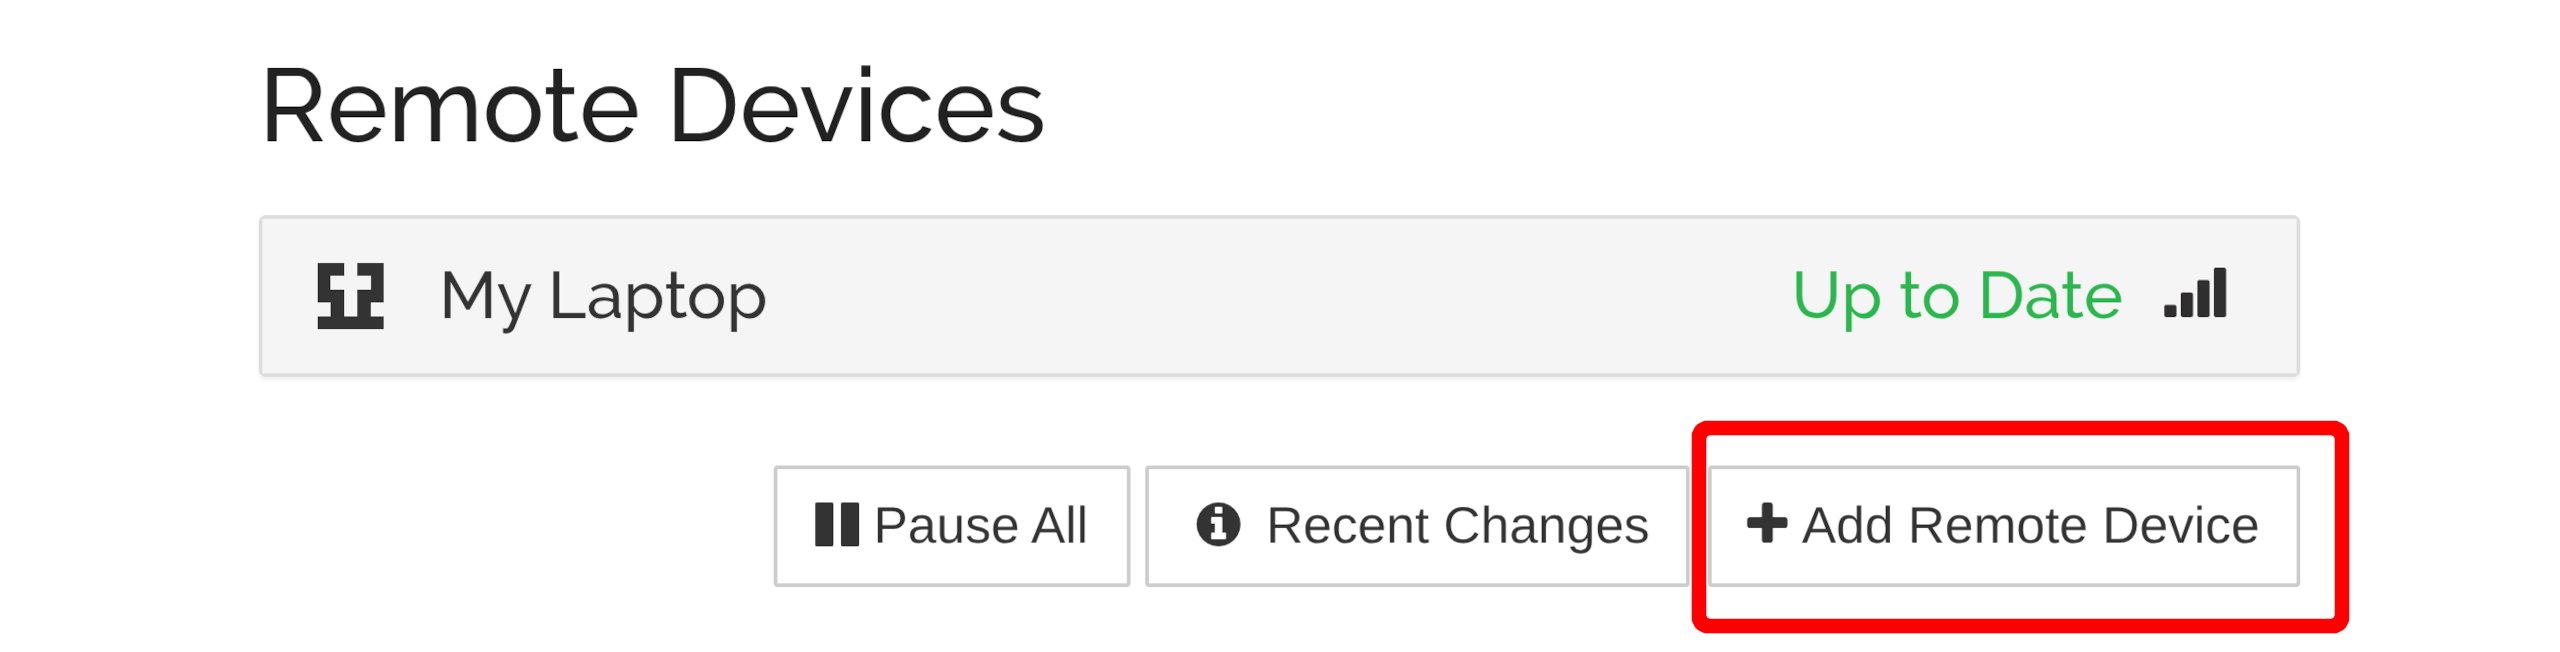
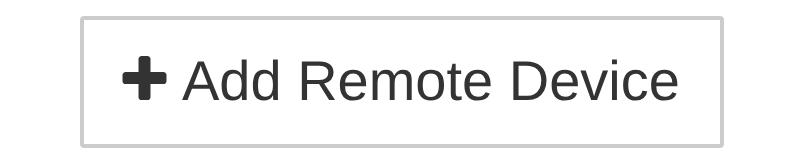
Switch back to your local Syncthing UI. In the "Remote Devices" section, click the "Add Remote Device" button.
Step 11: Paste Instance ID Local Device
In the "Add Remote Device" dialog from the previous step, paste the Syncthing ID from your Syncthing Cloud instance (which you copied in Step 9) into the "Device ID" field.
Step 12: Set Device as "Untrusted" Local Device
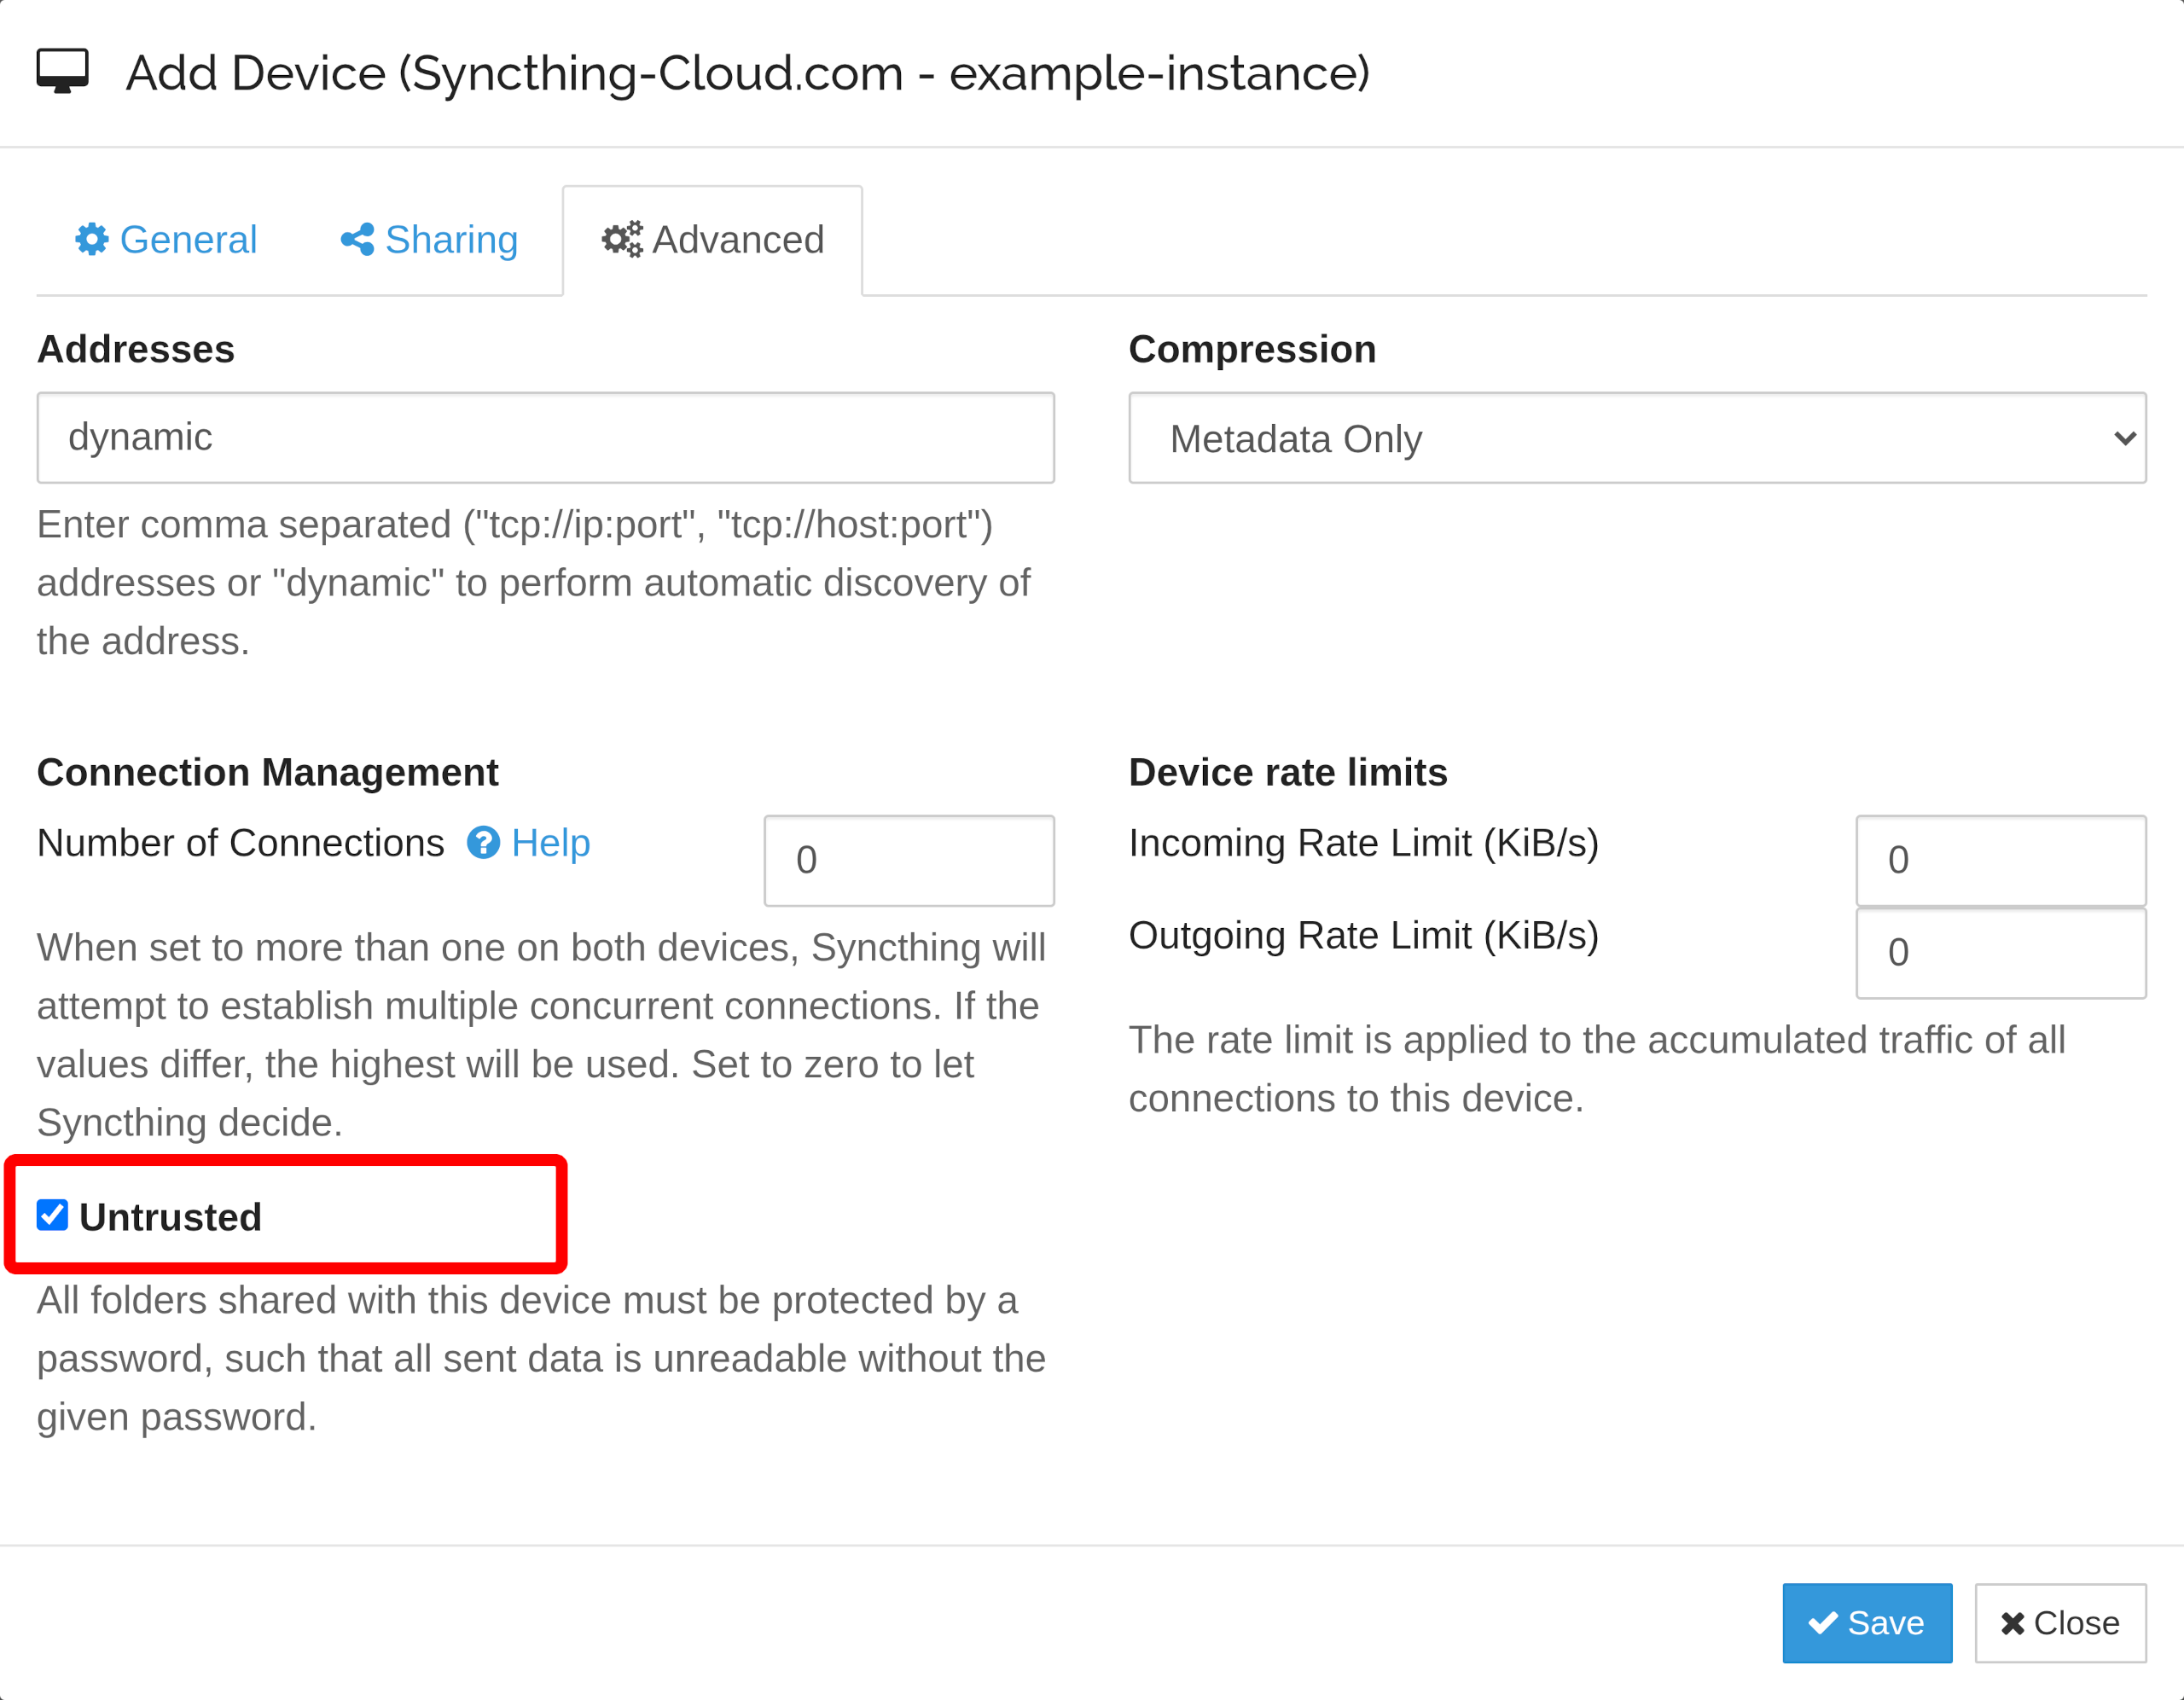
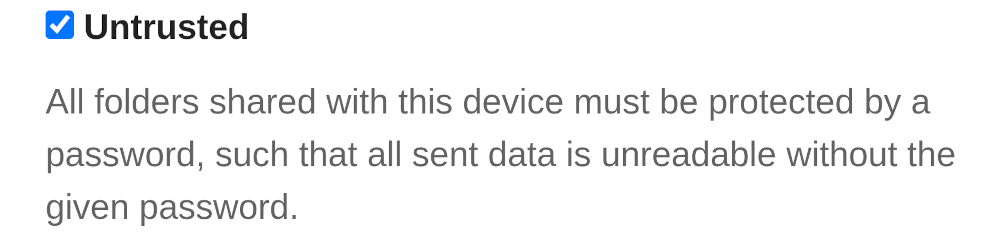
In the same "Add Remote Device" dialog, go to the Advanced tab and check the "Untrusted" box. This setting enforces encryption for all folders shared with your Instance.
Syncthing Cloud will refuse any data that arrives unencrypted.
Step 13: Configure Sharing & Encryption Local Device
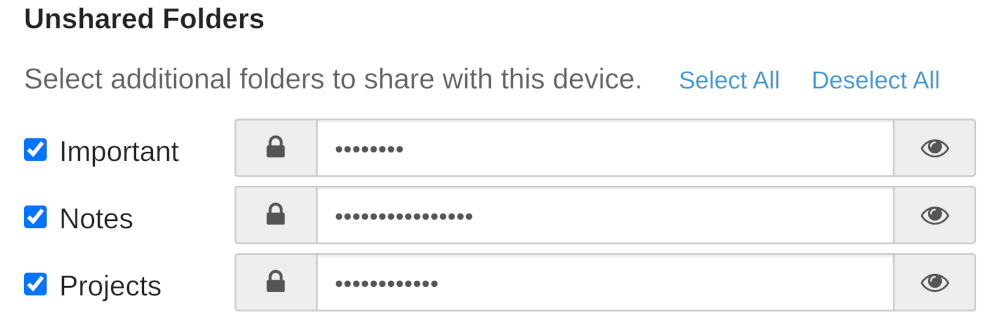
Go to the Sharing tab. Here, you can select the local folders you'd like to store on Syncthing Cloud. Click "Save" to add the device and begin syncing the selected folders.
IMPORTANT
When you share a folder with Syncthing Cloud, you MUST enter an encryption password. This password MUST be the same for all devices that connect to this Syncthing Cloud folder. Failure to configure this properly will result in rejected transfers.
Final Step: Repeat for All Devices
You're all set! The final step is to repeat this process with all your other personal devices.
- Add each new device to your Syncthing Cloud instance (Steps 5-8).
- Add the Syncthing Cloud instance to each new device (Steps 9-13).
- Remember to use the exact same encryption password for all shared folders.